


")


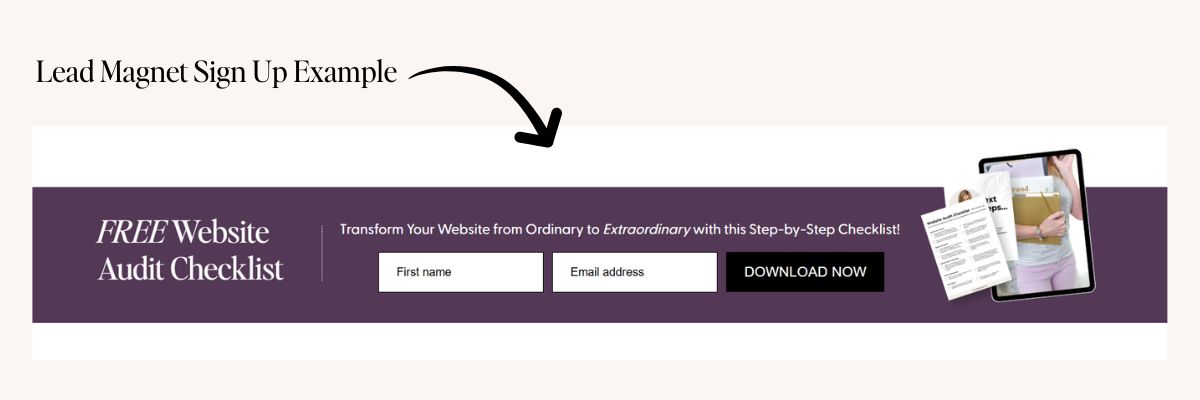
Creating and delivering an effective lead magnet is a powerful strategy to grow your email list and engage with your audience. In this blog post, I’ll guide you through the process of creating a compelling lead magnet using Canva, a versatile design tool, and delivering it with Flodesk, a user-friendly email marketing platform. Plus, I’ll provide you with a list of 50 lead magnet ideas to inspire your next creation.
Related Article: Flodesk or ConvertKit: Which One Should You Use?
Why Lead Magnets Are Essential for Your Business
Lead magnets are valuable pieces of content offered to potential customers in exchange for their contact information, usually an email address. A well-crafted lead magnet can help you grow your email list, establish relationships with your audience, and ultimately drive sales by providing value upfront.
My Favorite Tools for Creating and Delivering a Lead Magnet
Canva: Canva is an easy-to-use design tool that allows you to create stunning and professional-looking lead magnets. Whether you’re creating an eBook, checklist, or infographic, Canva’s wide range of templates, images, fonts, and design elements make the process simple and intuitive.
Flodesk: Flodesk is an email marketing platform known for its beautiful email templates and ease of use. It allows you to create automated email sequences, design visually appealing emails, and manage your contacts effortlessly. Flodesk also integrates seamlessly with Canva, enabling you to quickly import your lead magnet designs and deliver them to your subscribers.
How to Create Your Lead Magnet Using Canva
- Choose a Template: Start with one of Canva’s many templates to save time. Select a template that fits the type of lead magnet you're creating (e.g., eBook, checklist, infographic).
- Customize the Design: Use Canva's drag-and-drop editor to customize the design. Add your brand colors, fonts, and logos to make it your own.
- Add Value: Ensure that your lead magnet provides valuable content that your audience can’t resist. Make it actionable, informative, and relevant.
- Download Your Lead Magnet: Once your design is complete, download it in a format that suits your needs. PDFs are great for most lead magnets because they are easy to share and maintain their formatting.
How to Deliver Your Lead Magnet with Flodesk
- Create a New Form: In Flodesk, start by creating a new form to collect email addresses. Customize the form to match your brand.
- Set Up a Workflow: Use Flodesk's workflow feature to create an automated email sequence. This sequence will send the lead magnet to new subscribers after they confirm their email address.
- Customize Your Email: Design your email in Flodesk to include a warm welcome and a link to download the lead magnet. Use Flodesk's beautiful templates to make your email visually appealing.
- Test and Launch: Before launching, test your workflow to ensure everything works correctly. Once you're satisfied, publish your form and start growing your email list!
Adding a Flodesk Form to Your Showit Website
Integrating a Flodesk form into your Showit website is a great way to capture leads directly from your site. Here’s a quick guide on how to do it:
- Create Your Flodesk Form: Start by logging into your Flodesk account and creating a new form. Customize it with your brand colors, fonts, and messaging. Make sure to choose the form type that best suits your website (e.g., inline, popup).
- Get the Embed Code: Once your form is designed and ready, Flodesk will provide you with an embed code. This is a small snippet of HTML that you’ll add to your Showit website.
- Log into Your Showit Account: Go to your Showit dashboard and navigate to the page where you want to add your Flodesk form.
- Add the Embed Code Box: In Showit, you can add custom code into the 'embed code' box. You can add this from the bottom of your Showit app. Drag the embed code box to the location on the page where you want your form to appear.
- Paste the Embed Code: Paste the Flodesk embed code into the custom code box. Adjust the size and positioning of the box as needed to ensure your form displays correctly.
- Preview and Publish: Before publishing your changes, preview your site to make sure the form looks and functions as expected. If everything looks good, go ahead and publish your changes.
By following these steps, you can seamlessly integrate a Flodesk form into your Showit website, making it easy for visitors to subscribe to your email list and access your valuable lead magnets!
Prefer to learn from video? Watch Now >>
50 Lead Magnet Ideas to Grow Your Email List
Here’s a list of 50 lead magnet ideas to help you attract and engage your audience:
- eBook: Write an in-depth guide on a topic relevant to your audience.
- Checklist: Create a simple, step-by-step checklist to help your audience achieve a specific goal.
- Workbook: Design an interactive workbook that guides users through a process or project.
- Template: Offer a customizable template related to your niche (e.g., social media posts, email newsletters).
- Calendar: Provide a printable monthly planner or content calendar template.
- Cheat Sheet: Share a quick-reference guide for a complex topic.
- Toolkit: Compile a list of your favorite tools and resources with descriptions and links.
- Infographic: Create a visually appealing infographic that summarizes key information or steps.
- Quiz: Develop a fun quiz that offers valuable insights or personalized recommendations based on answers.
- Email Course: Create a series of emails that teach a specific topic over a few days or weeks.
- Case Study: Share a detailed case study that demonstrates how you solved a problem or achieved a result.
- Webinar: Offer access to a live or recorded webinar on a relevant topic.
- White Paper: Write an in-depth report that explores a specific issue in detail.
- Video Tutorial: Record a video tutorial that teaches a skill or demonstrates a process.
- Podcast Episode: Provide an exclusive podcast episode available only to subscribers.
- Printable: Offer a downloadable and printable PDF (e.g., a goal-setting worksheet, budget planner).
- Mini Course: Create a short video course that covers the basics of a topic.
- Guide: Write a comprehensive guide that walks your audience through a process or concept.
- Mind Map: Design a mind map that helps your audience organize their thoughts or plans.
- Spreadsheet: Share a useful spreadsheet template (e.g., budget planner, project tracker).
- Recipe Book: Compile a collection of your favorite recipes (great for food bloggers).
- Roundup: Create a curated list of the best articles, tools, or resources on a specific topic.
- Survey: Conduct a survey and share the results exclusively with your subscribers.
- Discount Code: Offer a discount code for your products or services as a reward for subscribing.
- Access to a Private Community: Invite subscribers to join a private Facebook group or forum.
- Content Upgrade: Provide an additional piece of content related to one of your blog posts (e.g., a downloadable checklist or template).
- Starter Kit: Bundle a few related resources into a starter kit (e.g., a beginner's guide, checklist, and template).
- Challenges: Create a multi-day challenge that encourages participants to take action and achieve a goal.
- Swipe File: Share a collection of ready-to-use templates or scripts (e.g., email templates, social media captions).
- Access to a Secret Podcast: Create a special podcast feed for subscribers only.
- Resource Library: Offer access to a library of free resources (e.g., templates, printables, checklists).
- Event Tickets: Give away tickets to a webinar or live event.
- Audio Training: Record an audio lesson or training session.
- Comparison Guide: Create a guide that compares different tools, products, or services.
- Planner: Design a planner to help your audience stay organized.
- Digital Wallpaper: Offer downloadable wallpapers for desktops or smartphones.
- Free Consultation: Offer a limited number of free consultations.
- Weekly Tips Newsletter: Promote a newsletter that offers weekly tips or insights.
- Success Stories: Compile a list of success stories or testimonials.
- Glossary: Create a glossary of terms related to your industry or niche.
- Waitlist Access: Give subscribers early access to new products or services.
- How-to Guide: Write a detailed how-to guide on a popular topic.
- App Guide: Create a guide that shows how to use a specific app or tool.
- Motivational Quotes: Design a collection of motivational quotes or affirmations.
- Wallpaper Calendar: Design a wallpaper calendar for desktops or mobile devices.
- Resource List: Share a list of books, podcasts, or websites that you recommend.
- DIY Kit: Offer instructions and a materials list for a DIY project.
- Sneak Peek: Provide a sneak peek of upcoming content or products.
- Exclusive Access: Give early or exclusive access to a new course, product, or event.
- Behind-the-Scenes Content: Share behind-the-scenes videos or photos that give a peek into your process or business.
With Canva and Flodesk, creating and delivering an engaging lead magnet is easier than ever. Start creating your lead magnet today and watch your email list grow!
Need help with your website?


